


Loading…
Something went wrong. Please refresh the page and/or try again.
Advertisements
Loading…
Something went wrong. Please refresh the page and/or try again.
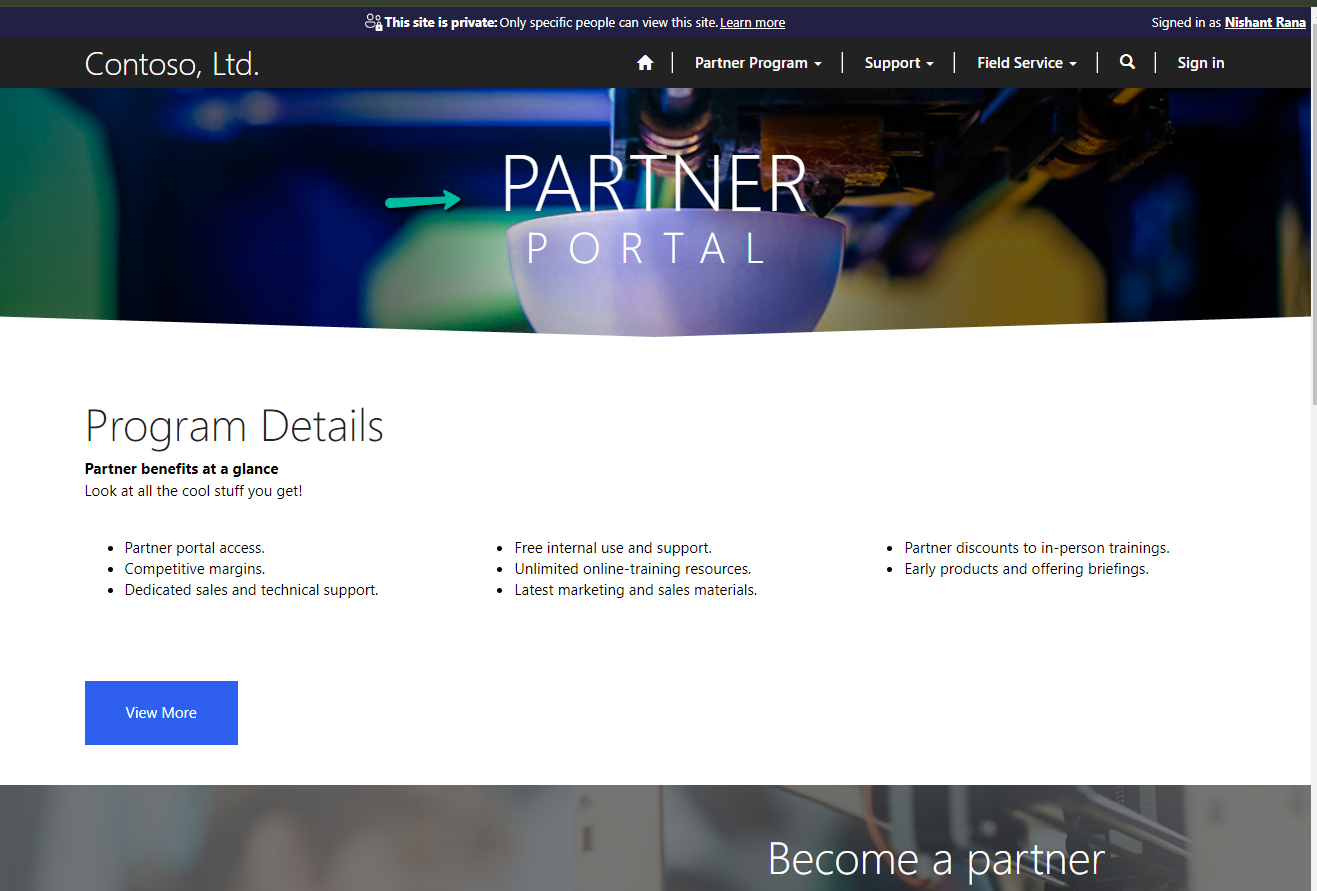
While trying to create a Website with Template – Partner Portal,
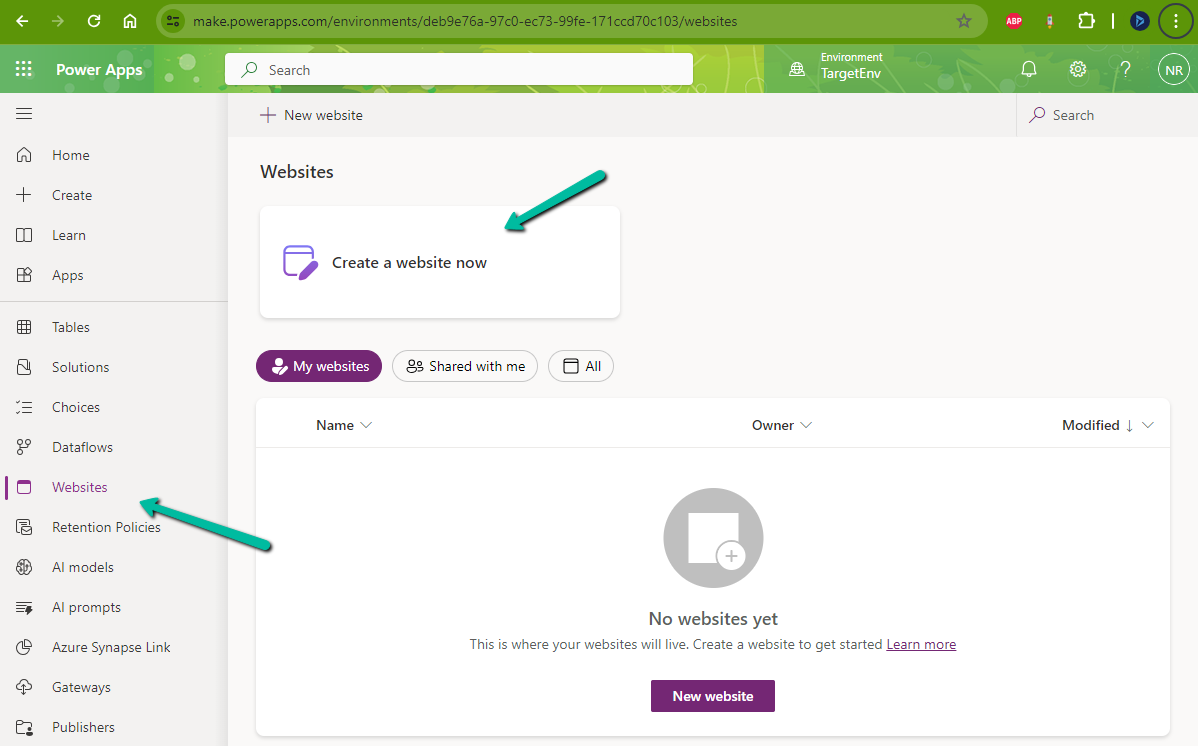
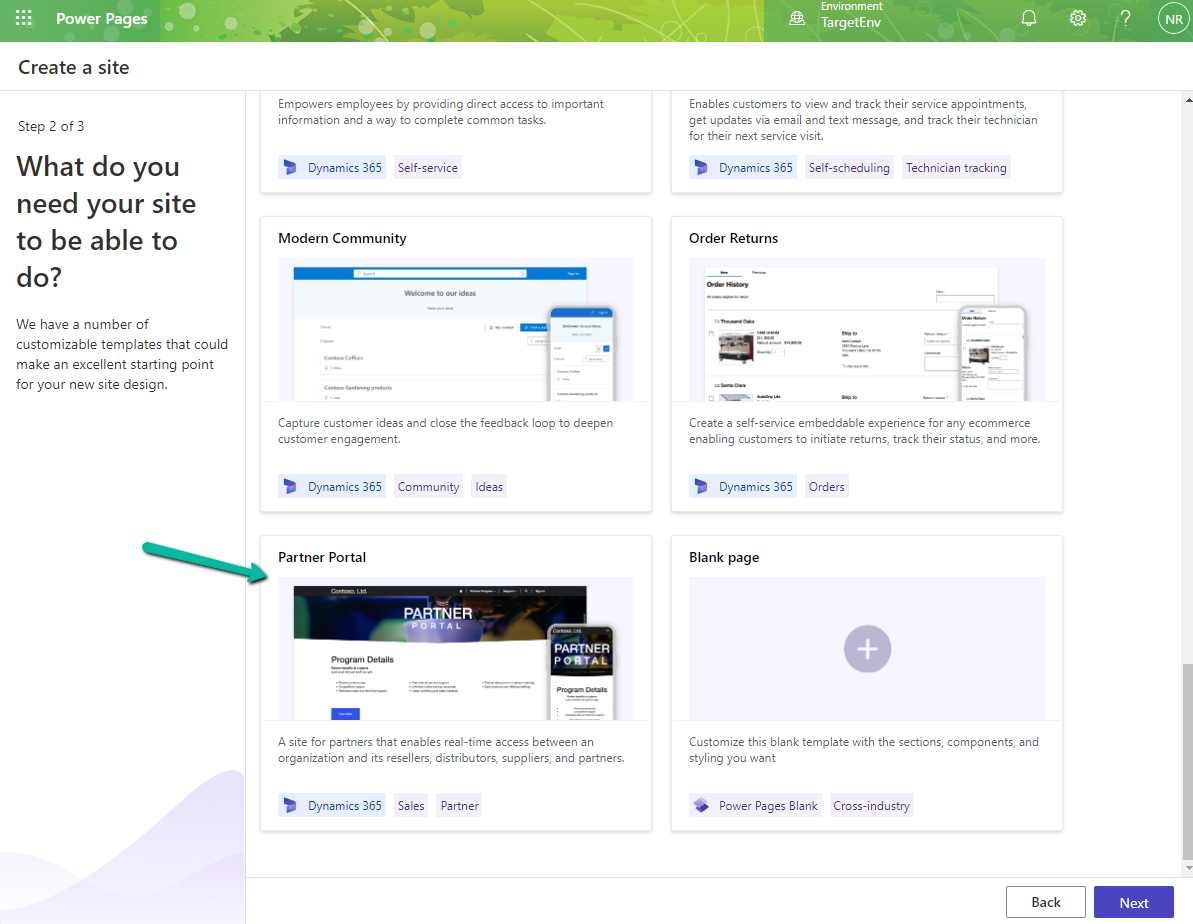
we observed the provisioning stuck at – Getting set up…

Also, it was showing the below error on checking the Site Health.
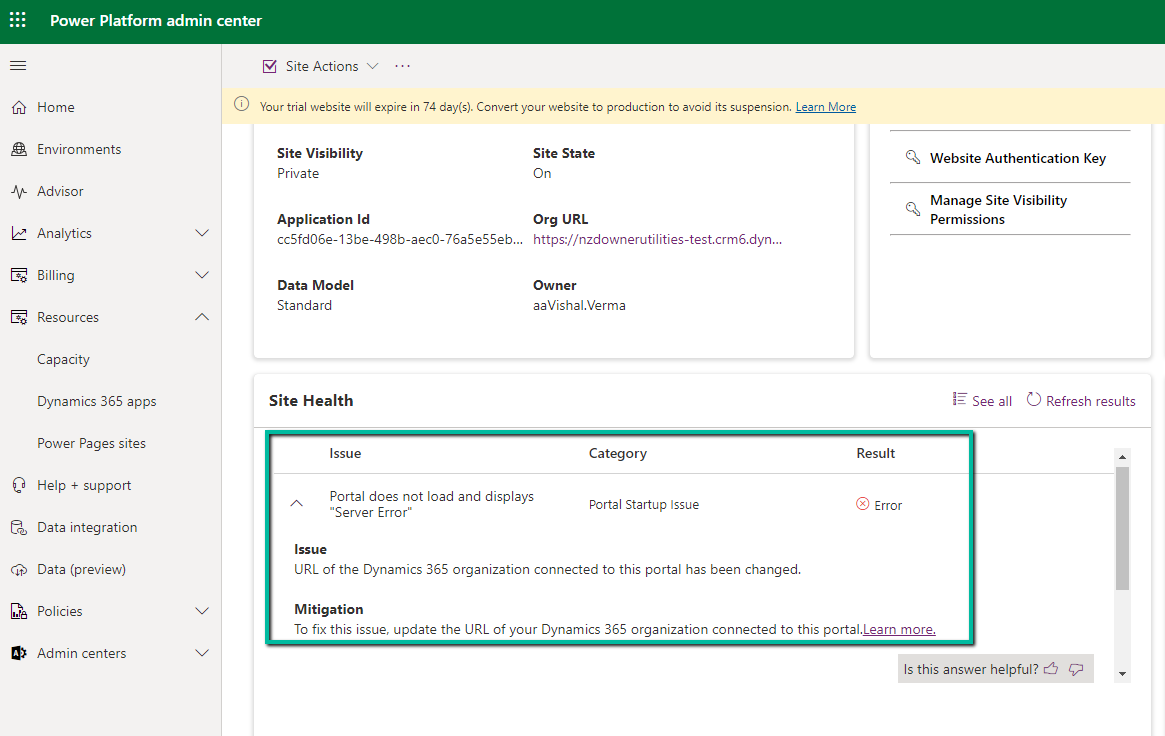
“URL of the Dynamics 365 organization connected to this portal has been changed.” Which wasn’t the case as the URL of the organization was correct.
Usually, the 1st Web Site takes time around an hour and then any new website is provisioned within 15-20 minutes (as the common / base solutions are already installed). This was the first website for that environment, however, when it was more than 24 hours, we then raised a Microsoft Support Ticket for it.
Microsoft acknowledged this as a bug and also got the fix ready, but there was a delay in deploying it because of dependencies internally.
In parallel, they also provided us with a workaround, which fixed the issue for us.
The steps are as follows –
If Customer Self-Service Portal is not needed, the website can be deleted then, followed by deleting the below Managed solutions specific to Customer Self-Service.
We followed the above steps and got the Website with the Partner Portal template created successfully.
Hope it helps..
We now have the version support for Cloud Flows in Power Automate.
This feature is only available in the new editor.
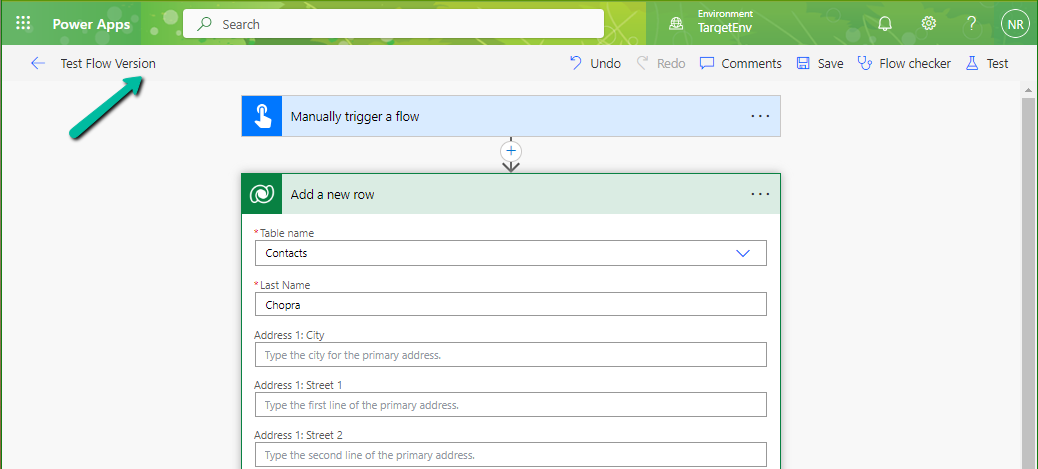
Let us start by creating a simple flow, the creation part will happen in the existing editor.
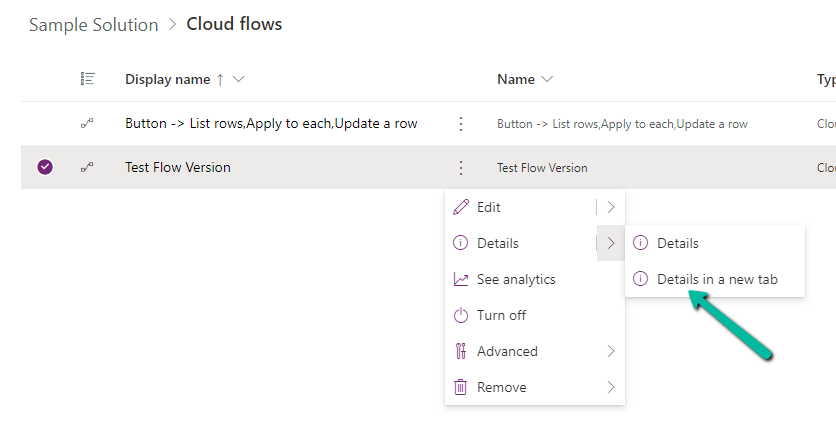
Let us save the flow, and select Edit >> Details in a new tab to open it in the new designer inside Power Automate Maker Portal

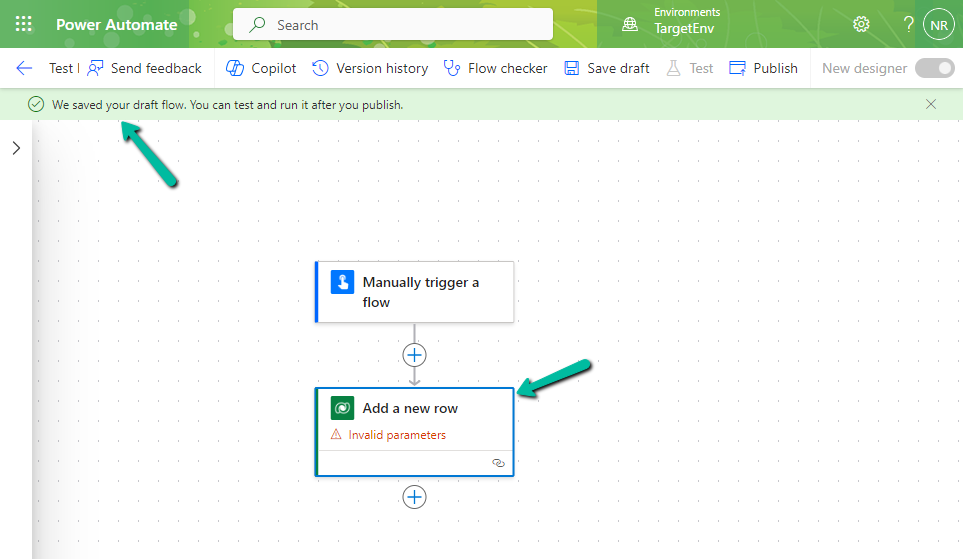
Below we have made changes to the flow and clicked on Save Draft.
Clicking on Save Draft changes the flow to Draft and shows the message “We saved your draft flow. You can test and run it after you publish”

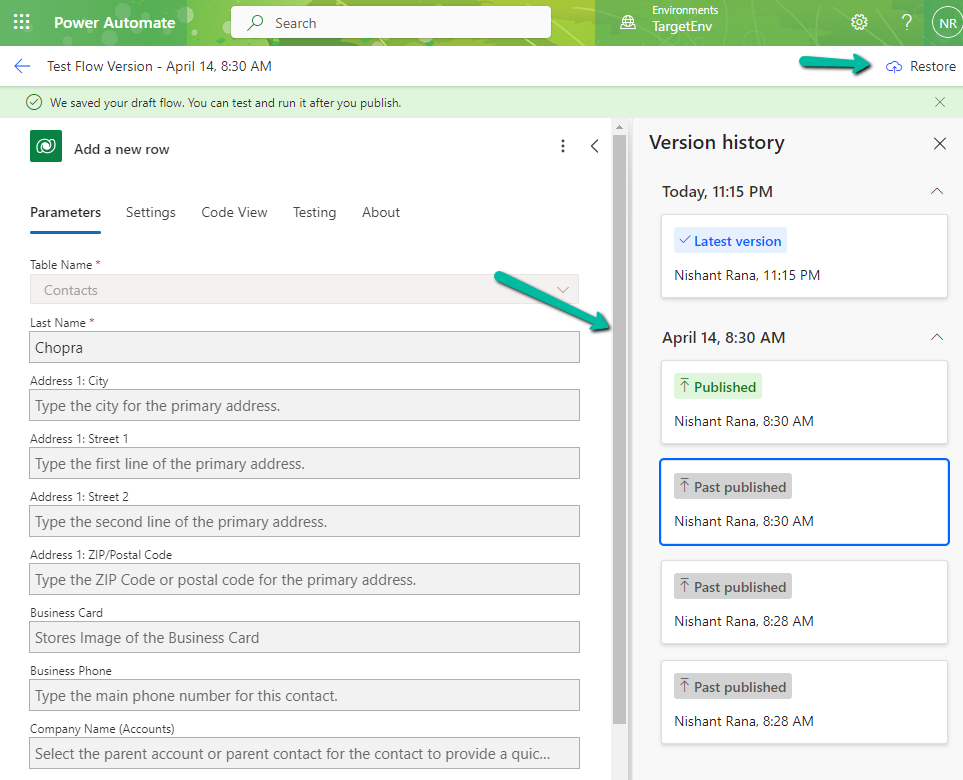
From the Version History, we can see the Latest Version, Published Version, and the Past Published version, with the option to Restore it.
We can save a draft of a flow even with errors now.
Check for more details – Draft and Versioning for Cloud Flows
Hope it helps..
Recently we had to change the password of the user account being used as an owner of the cloud flows as well as the used for connection/connection reference.
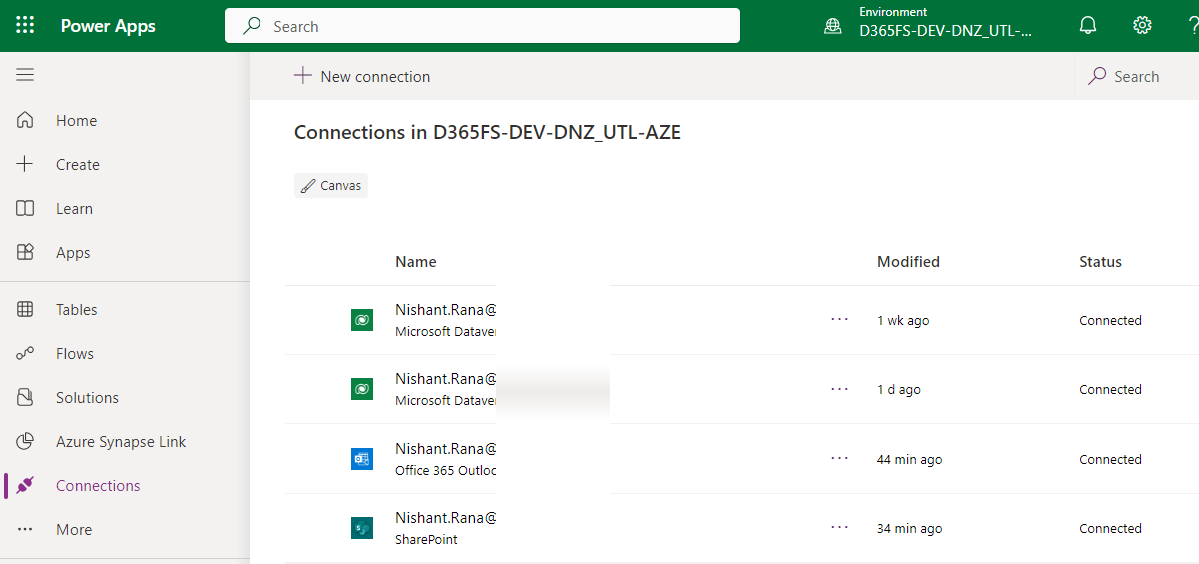
So we tried it on a trial environment first, below is our flow that runs every 5 minutes and creates a contact record (Dataverse), sends an email (Office 365 Outlook), and creates a file (SharePoint) owned by the same account along with the connection reference.
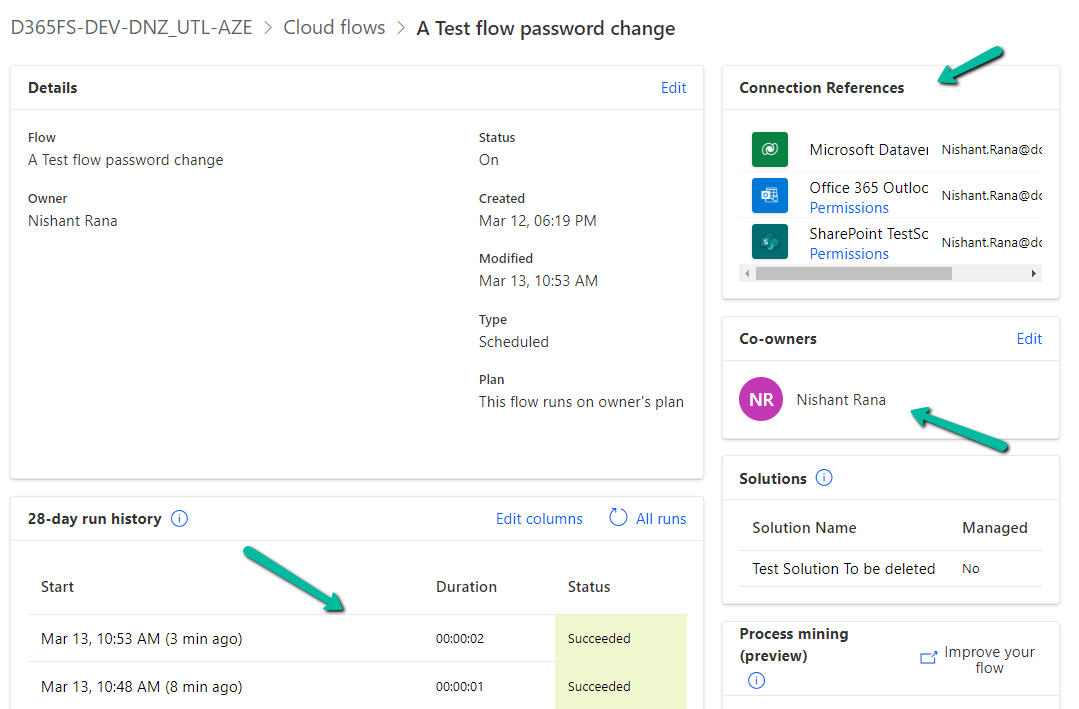
Below is our cloud flow

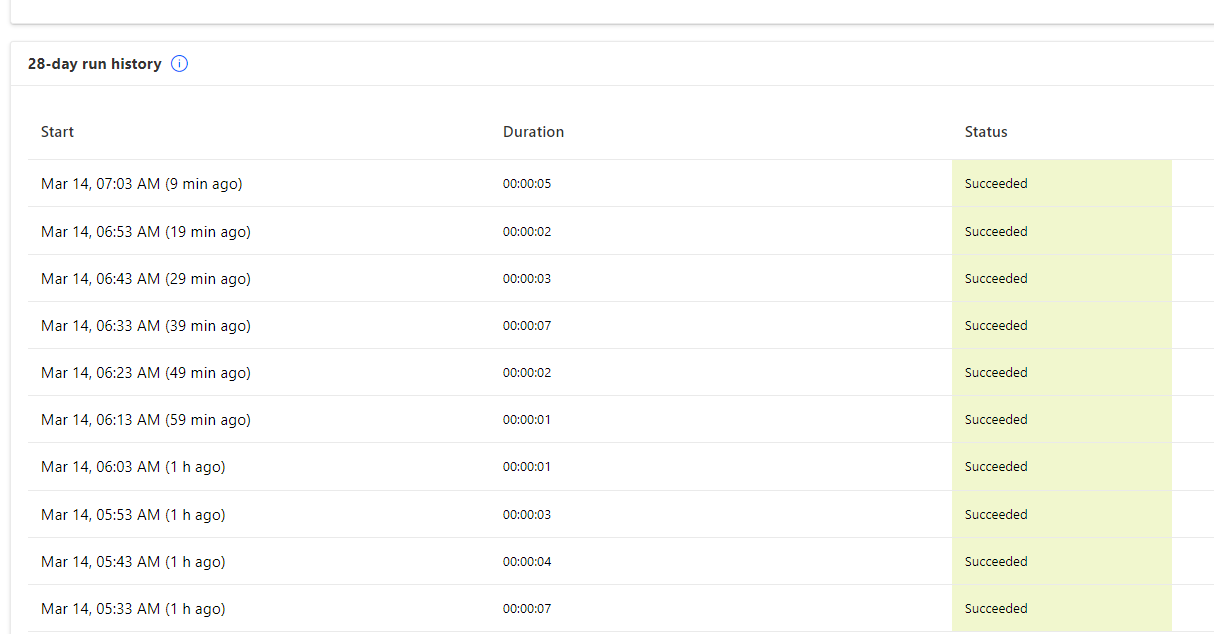
We can see the details around Connection References and Owner. We can also see it running successfully getting triggered after every 5 minutes.
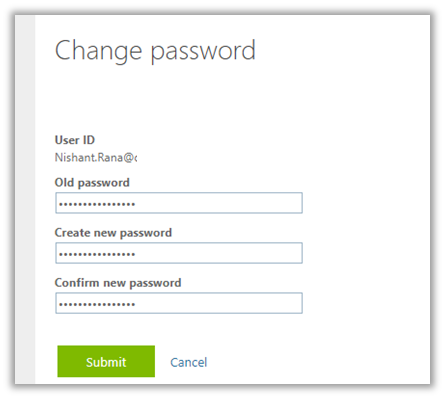
Now let us update the password of the account that is being used in the flow.
Interestingly after password change our Flow kept running successfully without any errors.
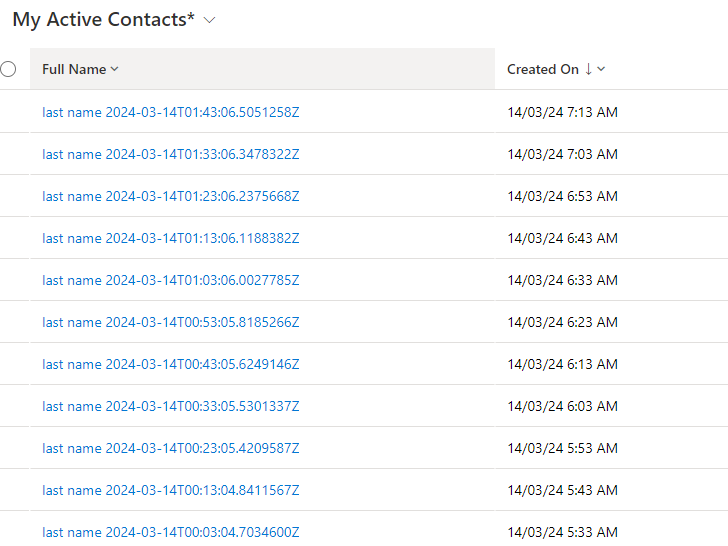
Contact records are created in the Dataverse.
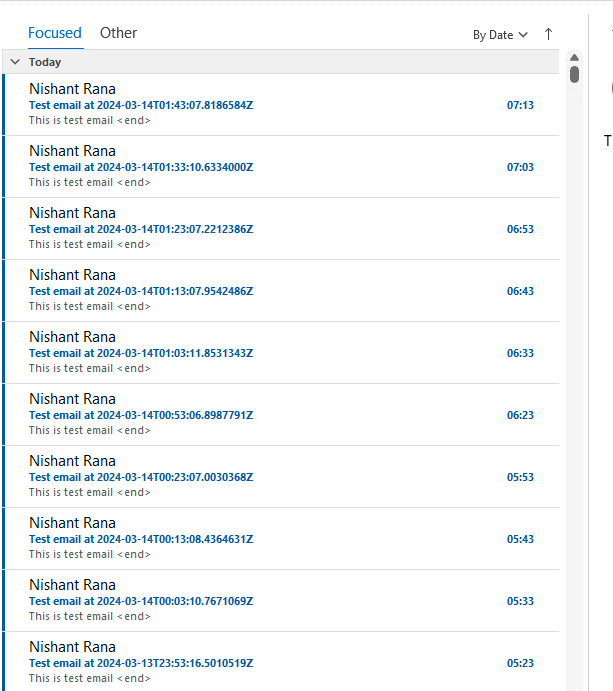
Mail sent using the Send an email action.
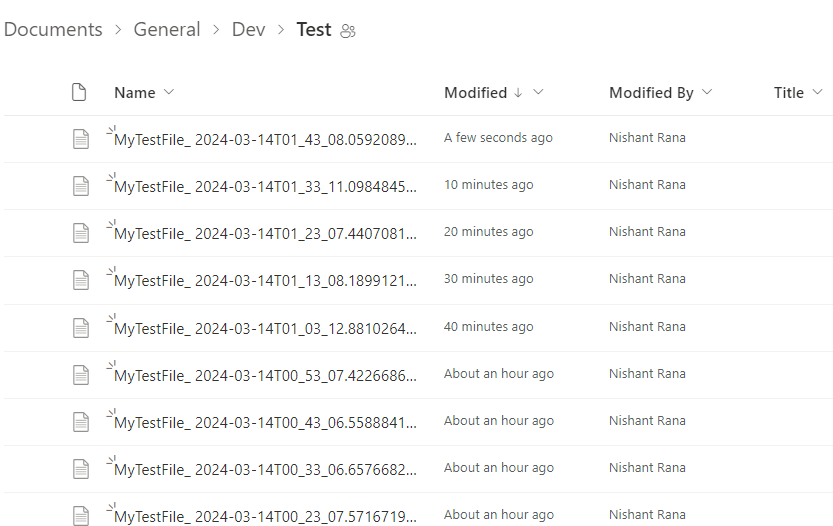
Files getting uploaded using the Create file action of SharePoint.
Also, we see the status of the connections showing as Connected.
It could be because Power Automate might be using cached credentials for a certain period after the password change, and/or the connections that use the refresh tokens to maintain authentication, have their tokens still valid.
Here what we can do immediately after changing the password is open the connections and click on Switch Account, sign in again using that account. That will referesh the connection.
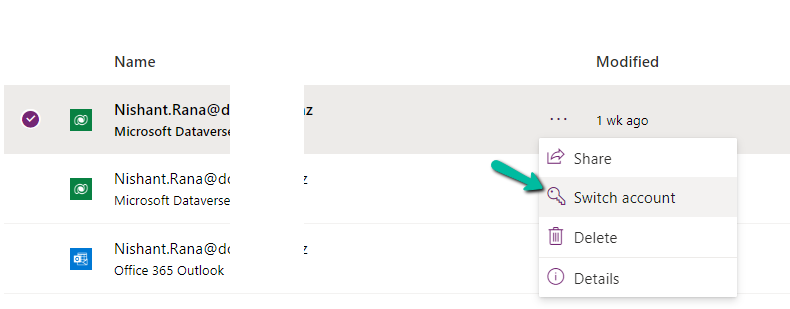

That is exactly what we did for our Prod and other environments after we updated the password and we didn’t face connection failed issues or any other error for all our exiting flows.
Using Service Principal in Power Automate – https://benediktbergmann.eu/2022/01/04/setup-a-service-principal-in-power-automate/
https://www.dynamicpeople.nl/en/news/service-principals-power-automate/
Hope it helps..
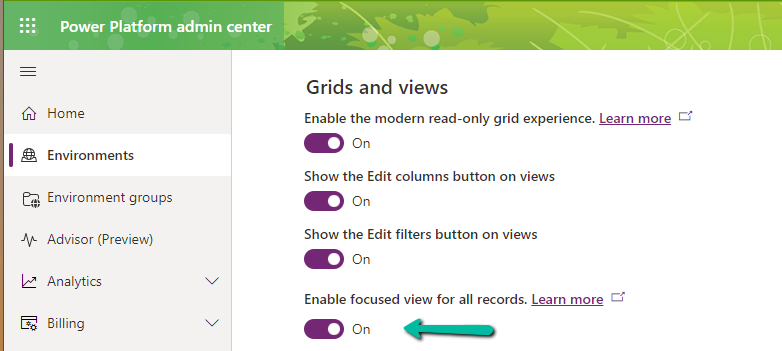
Focused view in Dynamics 365 that allows users to view and manage all their records in one place, allowing them to be more productive, as they can stay on track and avoid getting sidetracked by switching between multiple screens to find the information they need.
We can enable and disable it for all the records from the Power Platform Admin Center
Let us select the Focused View for the Cases.
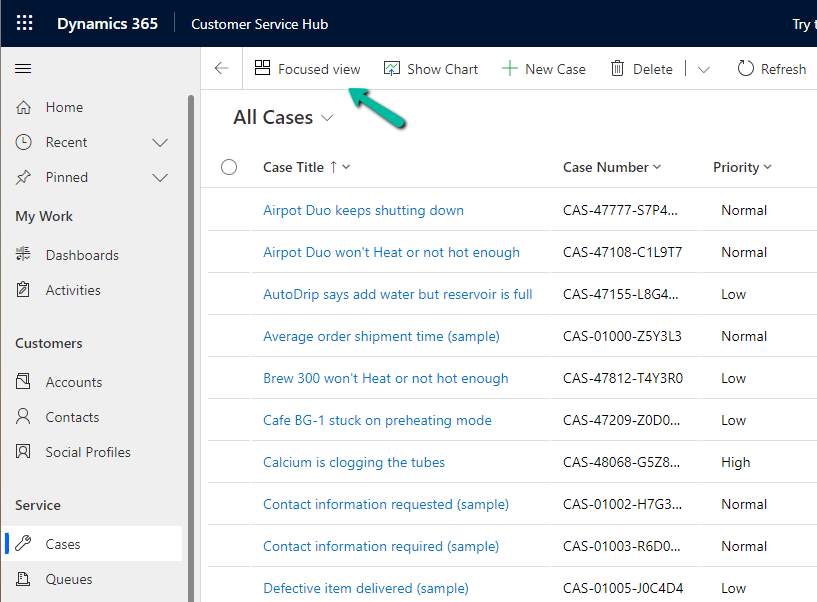
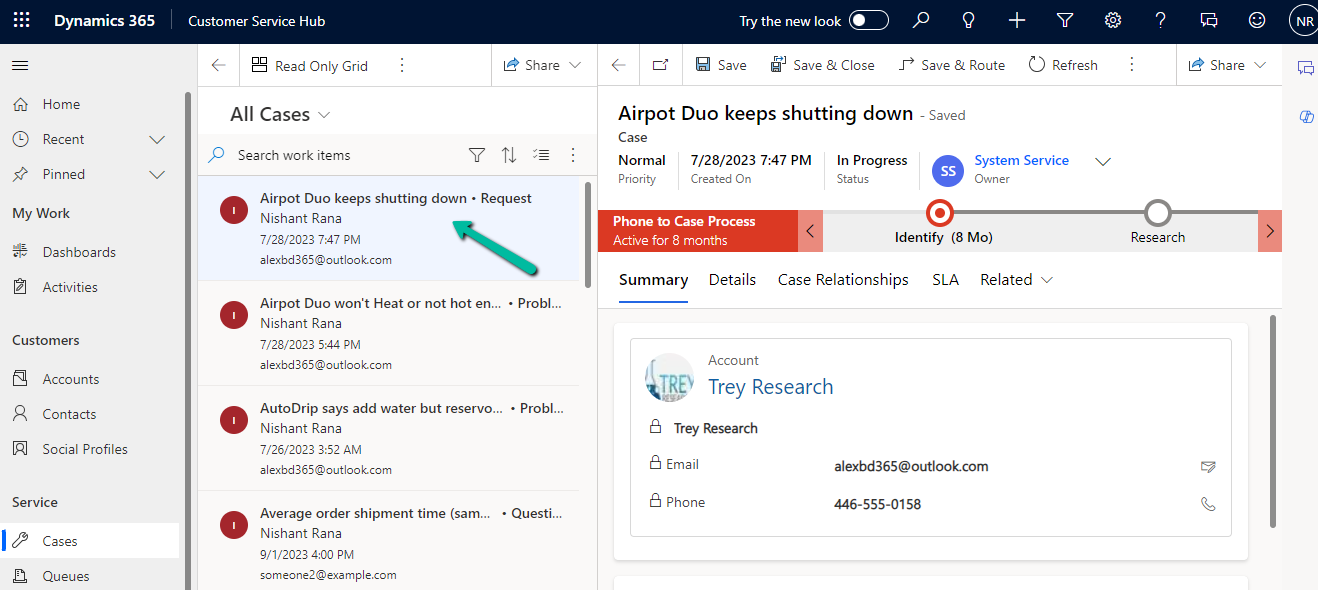
Focused View lists all the records of the view, from where we can select the record, and see its details, within the same screen.
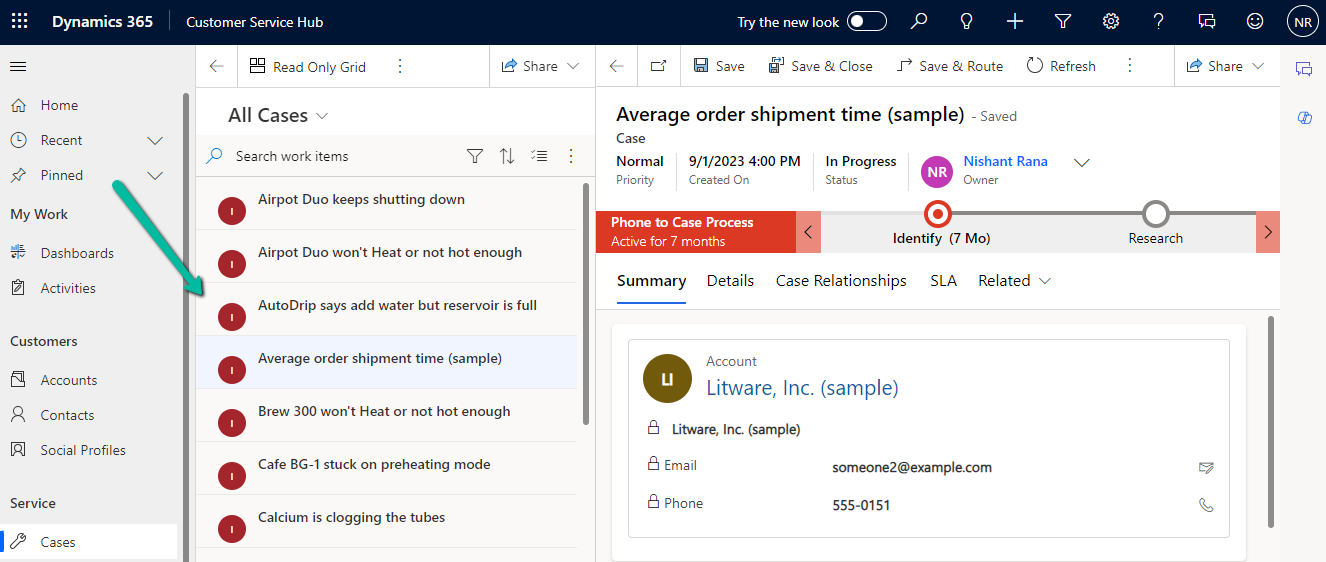
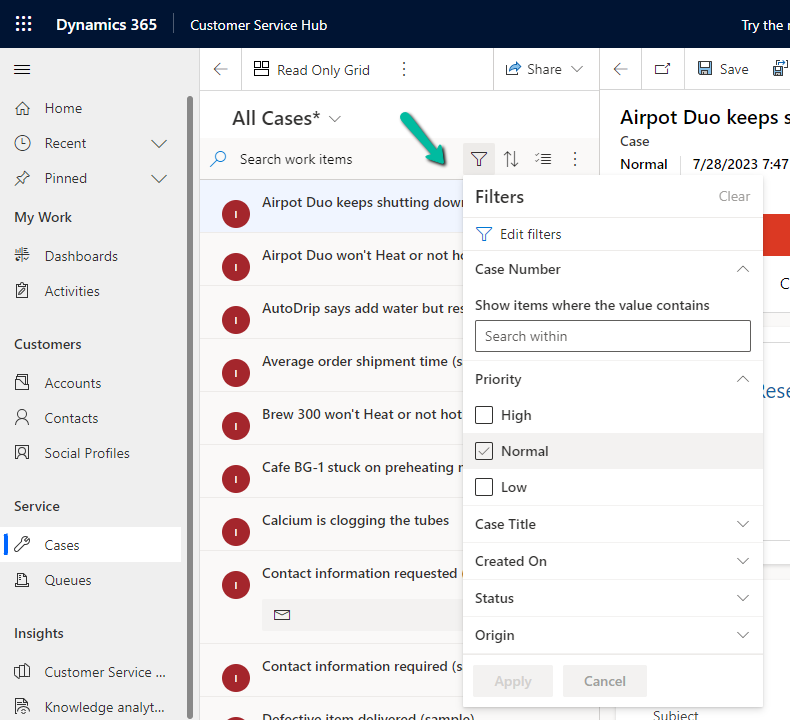
We can search, filter, sort, select multiple records, and further customize it.
Search –
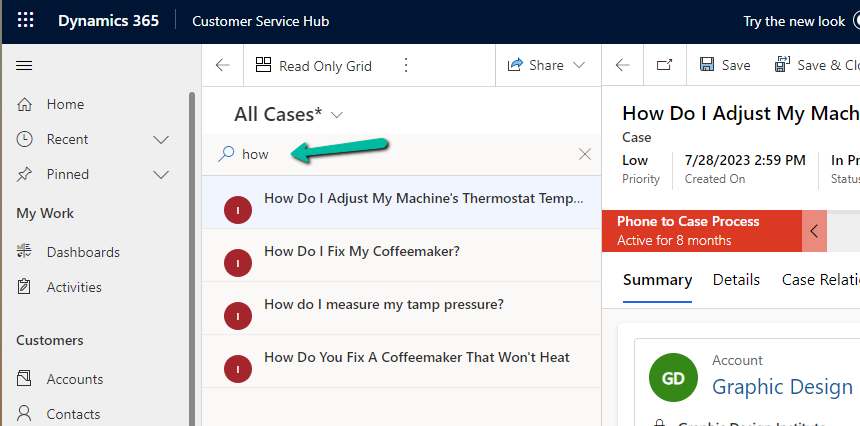
Filter –
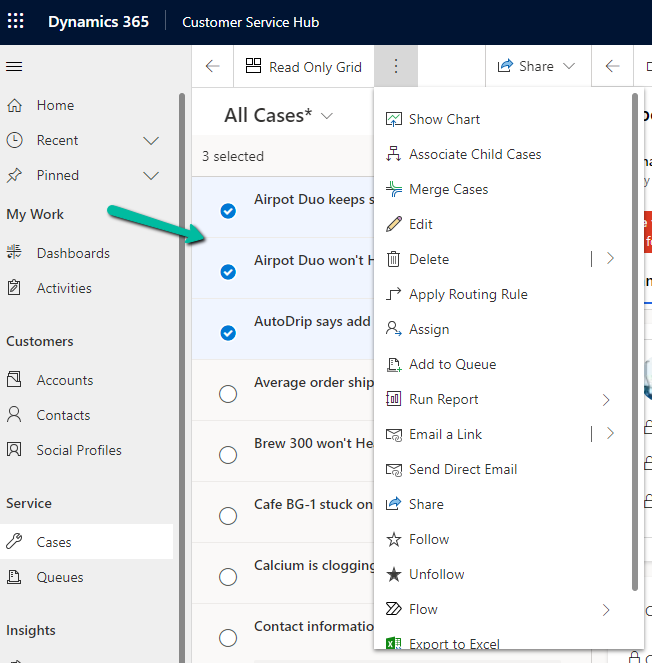
Select multiple records and perform bulk operations –
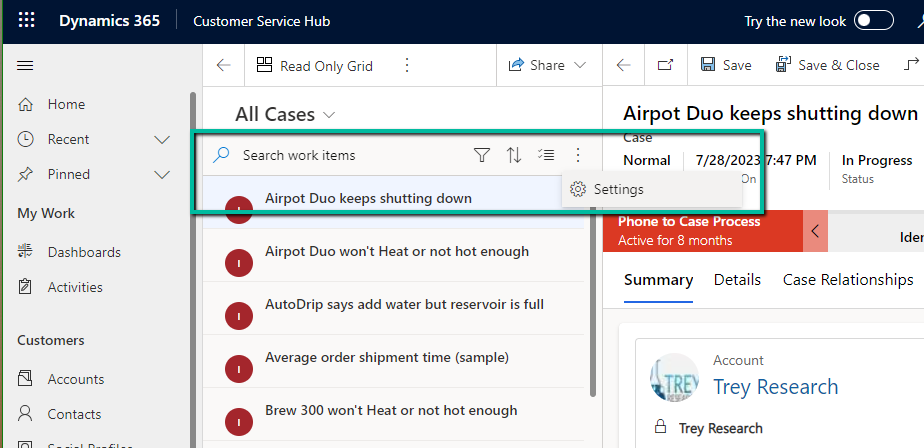
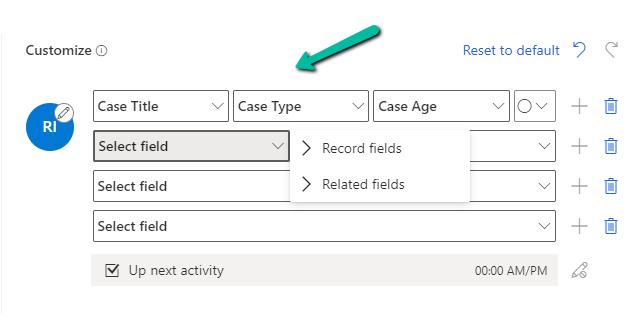
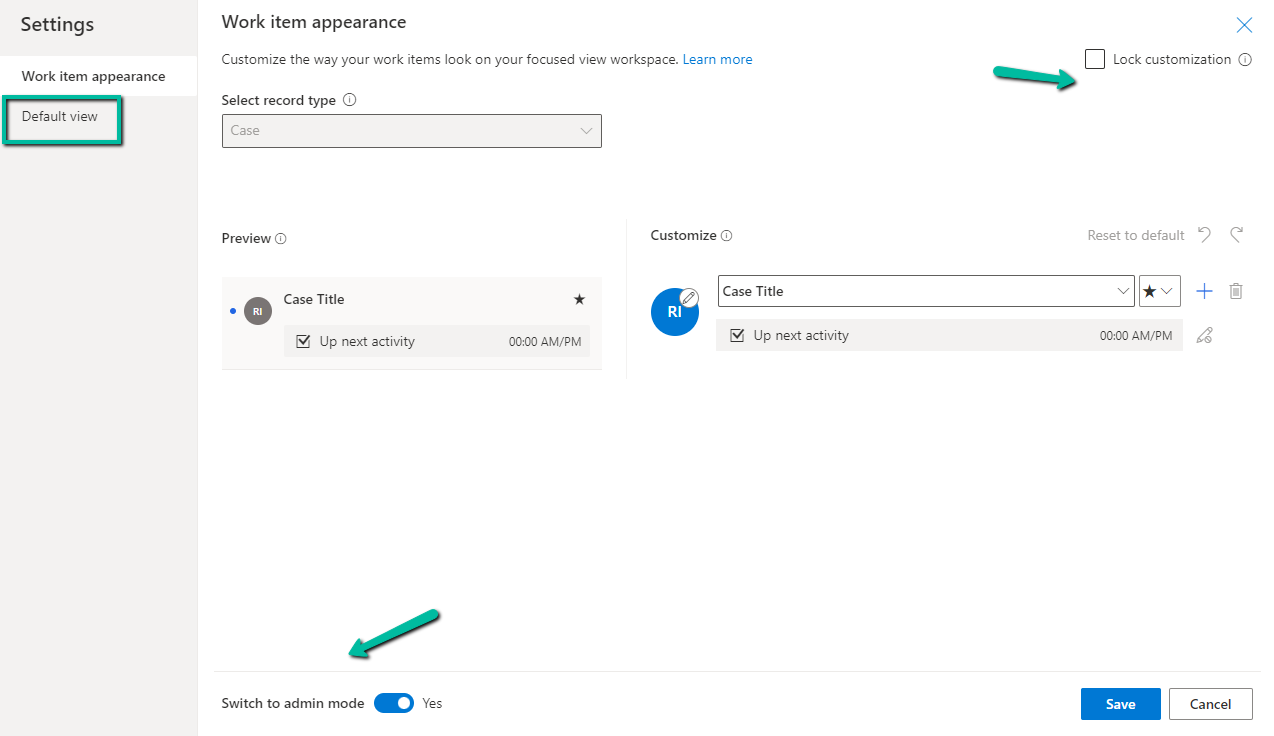
From Settings, we can customize the appearance of it –

Here we can specify maximum 4 rows and each row can have a maximum of 3 columns added to it, it can be from the same record or the related record.
Here we have updated it as follows
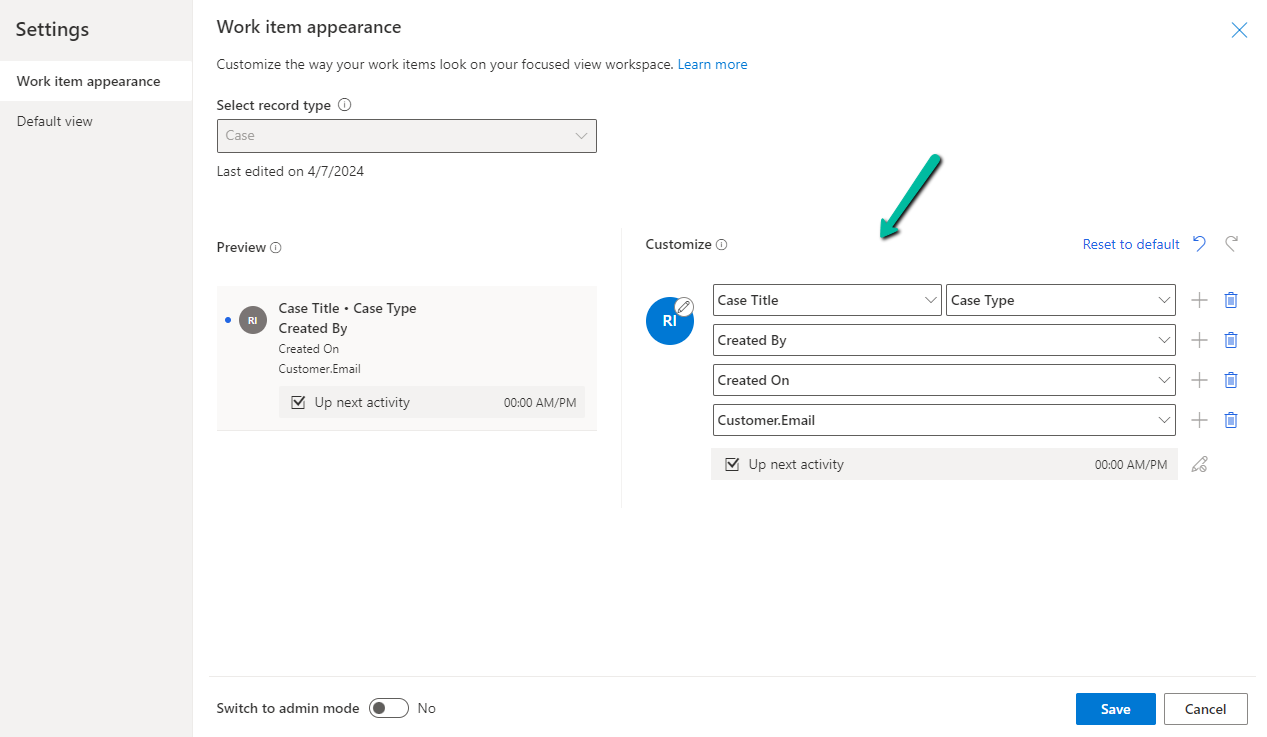
Next, we have admin mode, where we can lock the customization so that users won’t be able to change it.
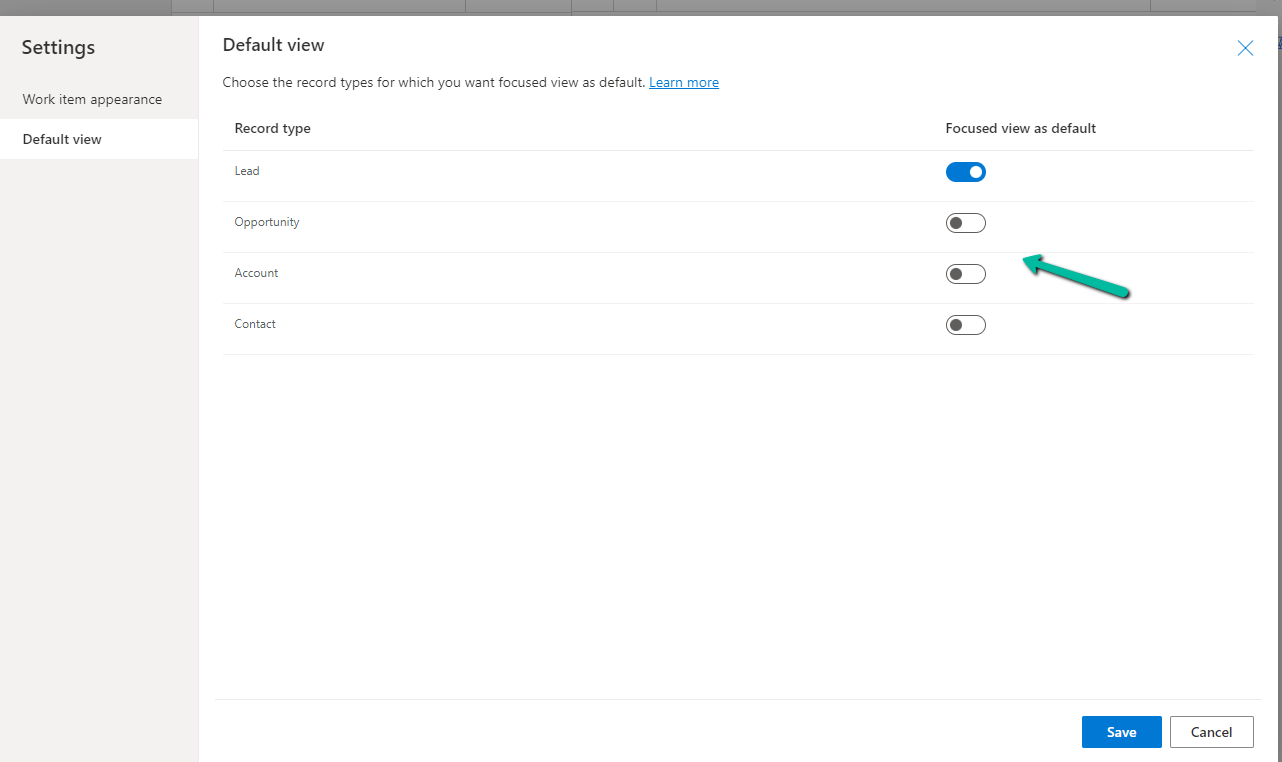
From the Default View settings, we can specify the tables on which we want focused view as default.
Below we can see the Focused View updated to show Case Title, Case type, Created by, and associated customer’s email address.
Get all the details here
Hope it helps..
This new feature allows associating an activity record with multiple related records or related parties.
For E.g. we might want to associate an email with multiple cases, or with case as well as account and contact records.
It is still in the public preview (April 24) and is only available for Email Activity.
To see it in action, first, we need to add the Related field of type Party List to the form.

We can see the option to add related records of type Account, Case, Contact, Knowledge Articles, Queue, and User to it.
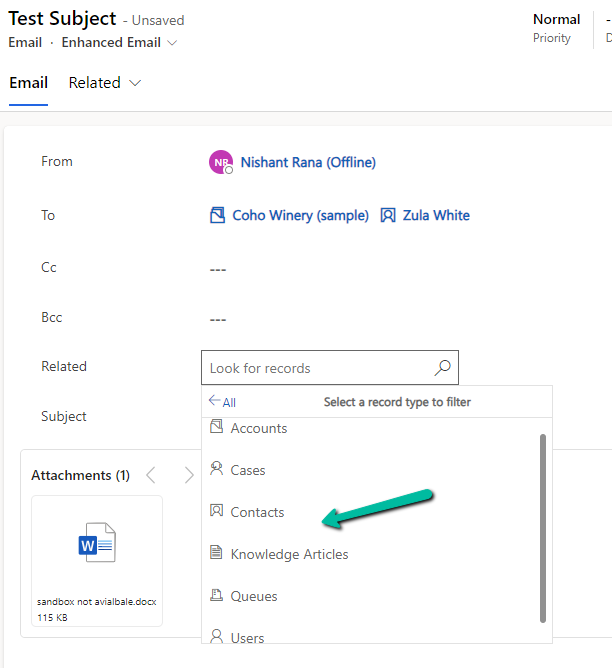
Below we can see multiple records of different tables added to it.
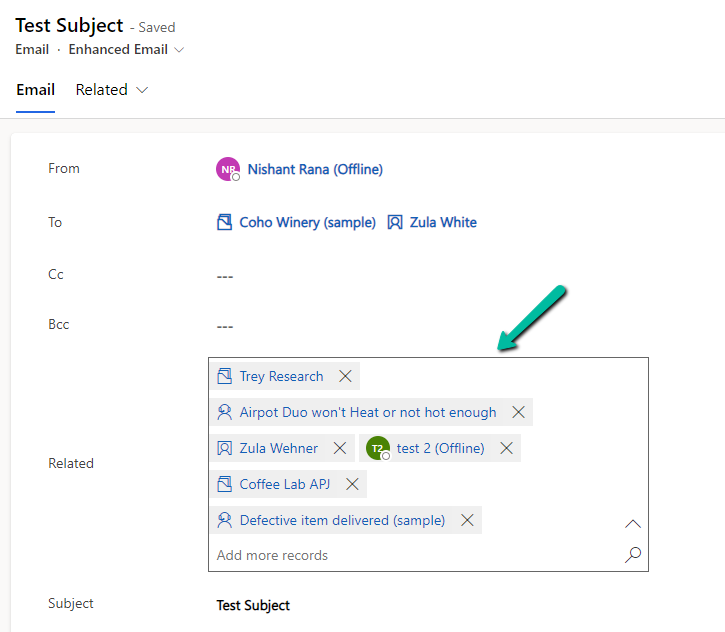
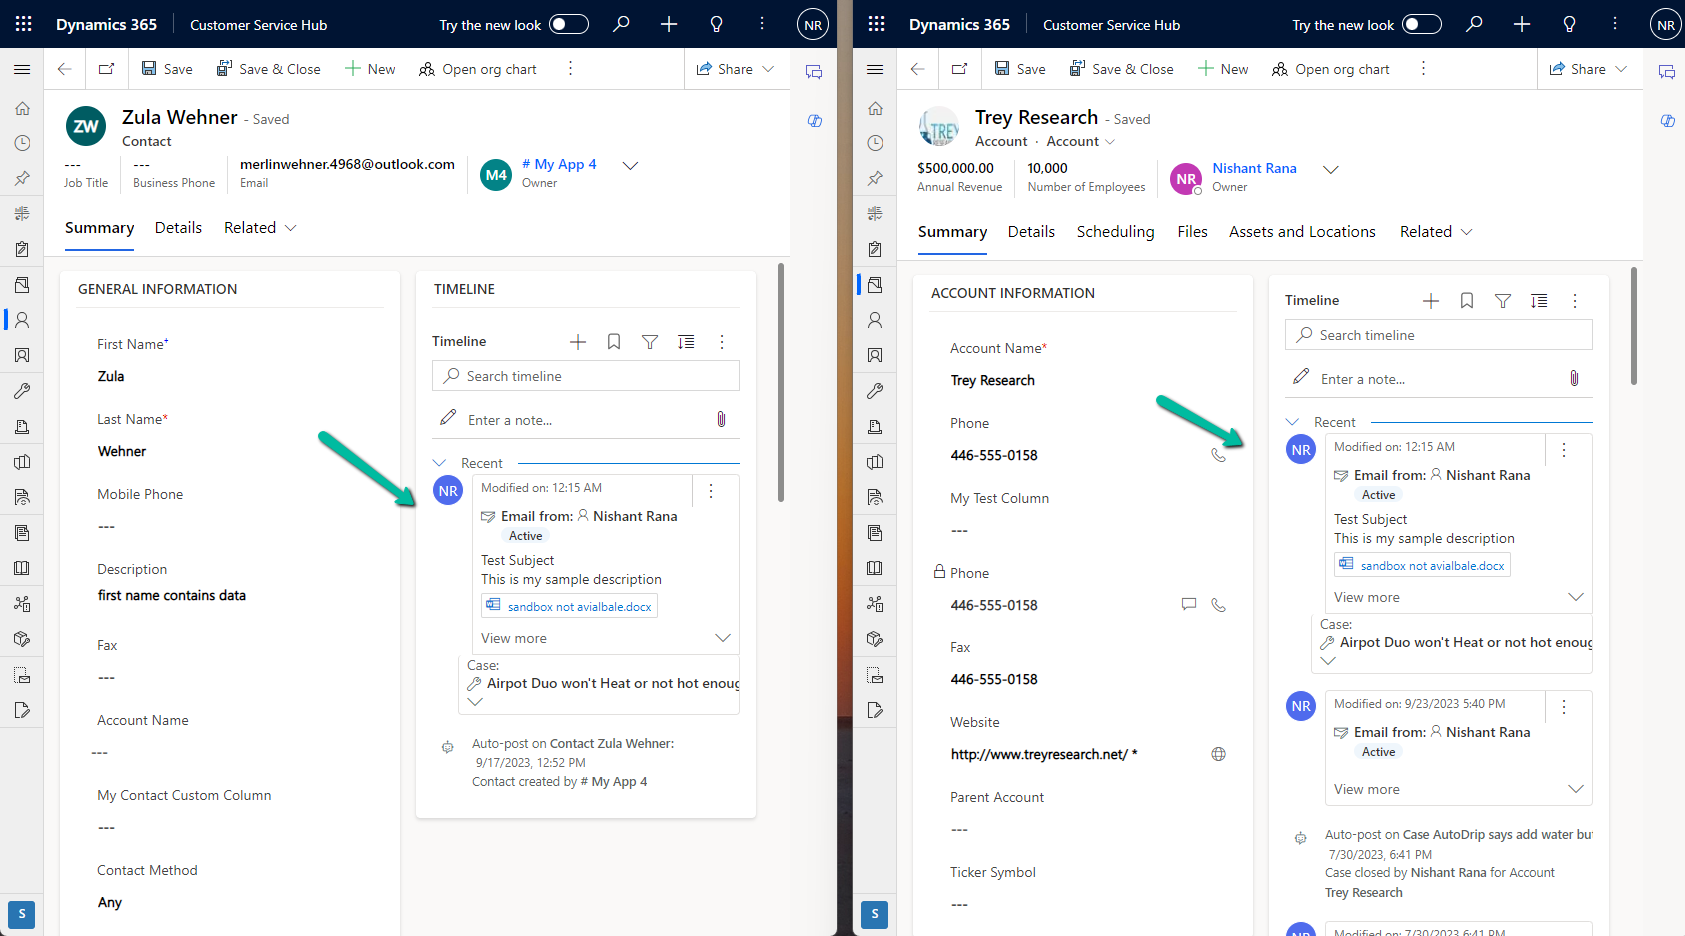
Also, we can see the email record showing up in the timeline of the corresponding related records.
Check more details
Hope it helps..
We can see a few new features added to attachments for email activity as part of 2024 Release Wave 1.


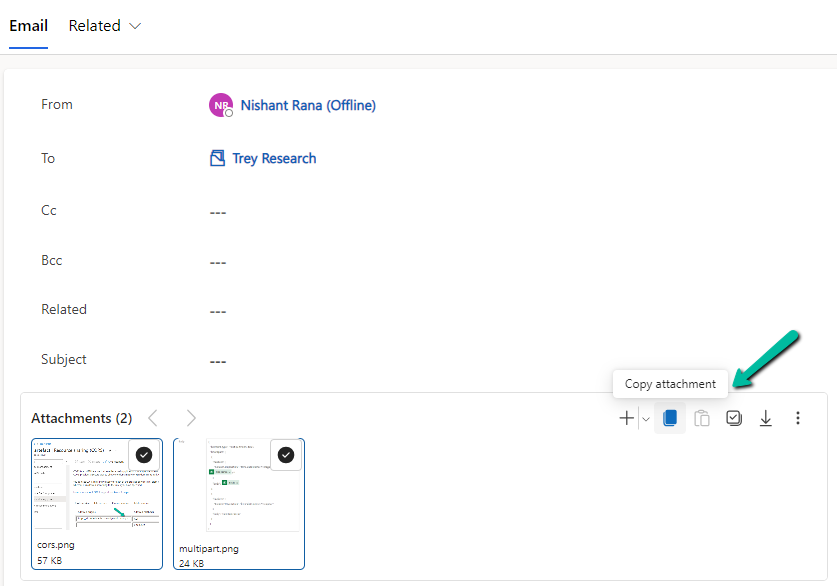
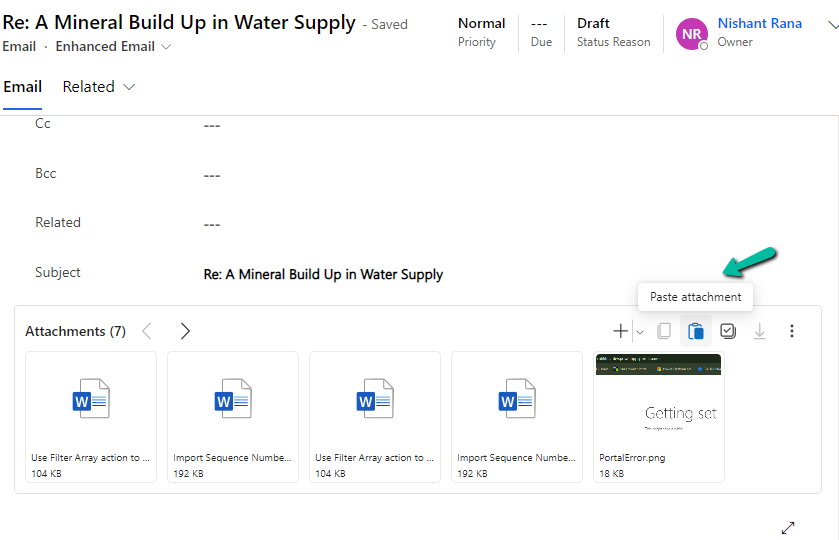
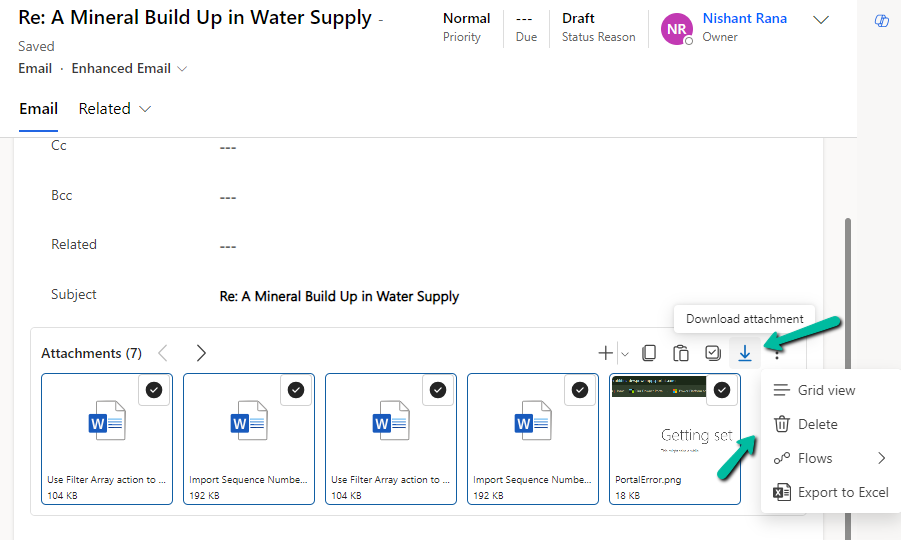
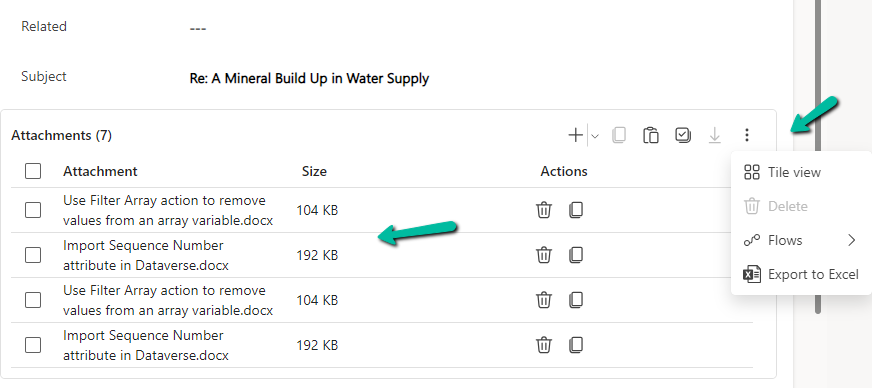
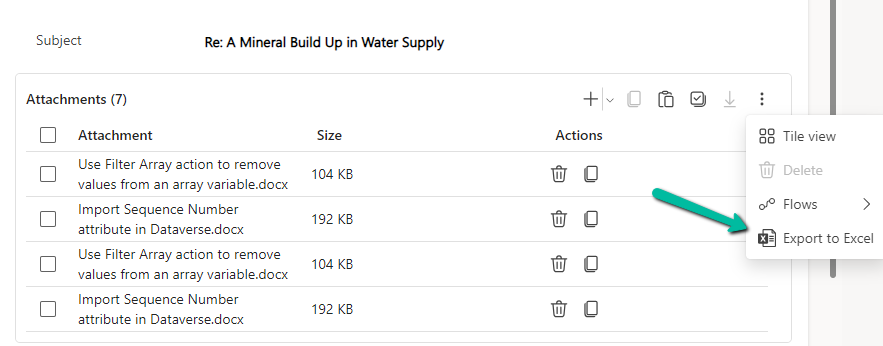
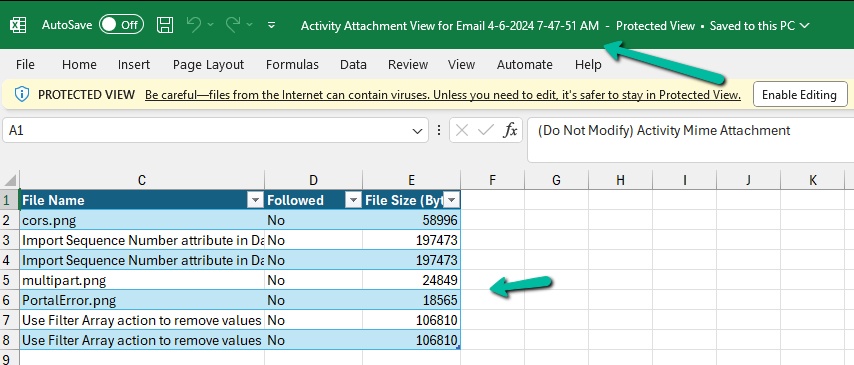
Get all the details here
Hope it helps..
